How to root YU Yunique YU4711 – Complete Guide
Preparations:
- To avoid data loss while rooting, it is always recommended to have a backup of all of your important data and stuff. Backup SMS | Contacts | Call Logs etc.
- Enable USB Debugging from Developer Options.
- Charge Yunique to at least 65% before you proceed.
- Download and install required USB Drivers on PC. Alternative.
- Install and setup ADB and Fastboot drivers – Windows | Mac.
- Unlock Bootloader on YU Yunique.
Disclaimer: I don’t take any responsibility for any damage to your YU Yunique and we recommend to proceed with the below steps only if you understand what you are doing and proceed at your own risk.
Downloads:
TWRP Recovery for YU Yunique – Download
SuperSU for YU Yunique – Download
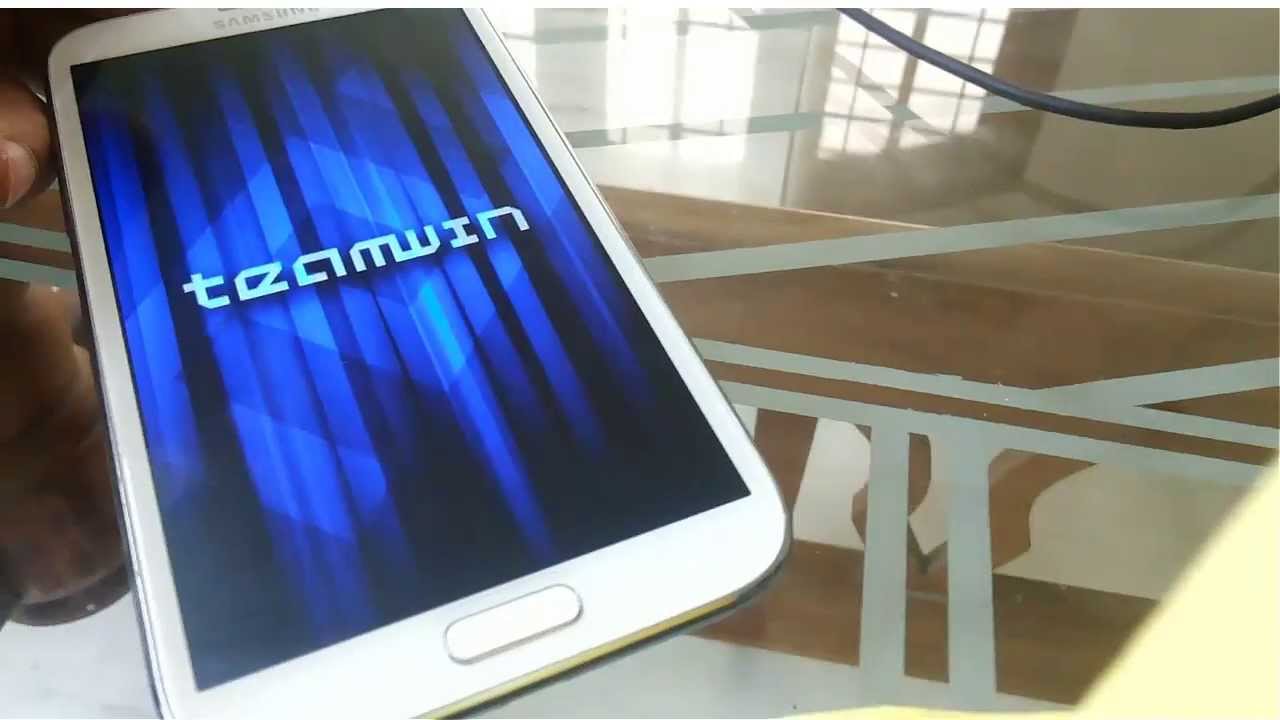
How to Install TWRP Recovery on YU Yunique YU4711:
Step 1: Download the TWRP Recovery from the downloads section above.Step 2: Rename it to twrp.img and copy it inside the ADB or Fastboot folder or the folder where fastboot.exe or adb.exe is located.
Step 3: Open the ADB or Fastboot folder and press and hold the shift key and right click inside the folder at the empty space and choose Open Command Window Here.
Step 4: Boot YU Yunique into Fastboot Mode.
- Power off YU Yunique.
- Press and hold the Volume Up button and connect YU Yunique to PC.
fastboot flash recovery twrp.img
This command flashes the TWRP Recovery on YU Yunique.fastboot reboot
This command reboots YU Yunique to normal mode.That’s it now you have TWRP Recovery installed on YU Yunique and now it’s time to Root YU Yunique YU4711.
How to Root YU Yunique YU4711:
Step 1: Download the SuperSU.zip for YU Yunique from the above downloads section.Step 2: Transfer it to root of your device’s internal or external storage.
Step 3: Boot YU Yunique into Recovery Mode.
- Power off YU Yunique.
- Press and hold Volume Up and Power buttons until you see YU Logo.
Step 5: Click on Install.
Step 6: Browse fo the SuperSU.zip file and click on it.
Step 7: Finally Swipe to confirm flash.
Step 8: After Flashing, press the home button in TWRP, Go to Reboot and click on System.
Step 9: Check for root permissions using Root Checker App.
Now that you have successfully acquired root access on your YU Yunique Android smartphone, consider sharing it on Facebook, Twitter and Google Plus and help others in installing TWRP Recovery and rooting YU Yunique.
Have any questions? Ask them in the comments section


No comments:
Write comments